Replacing Olympic Rivets with Buck Rivets
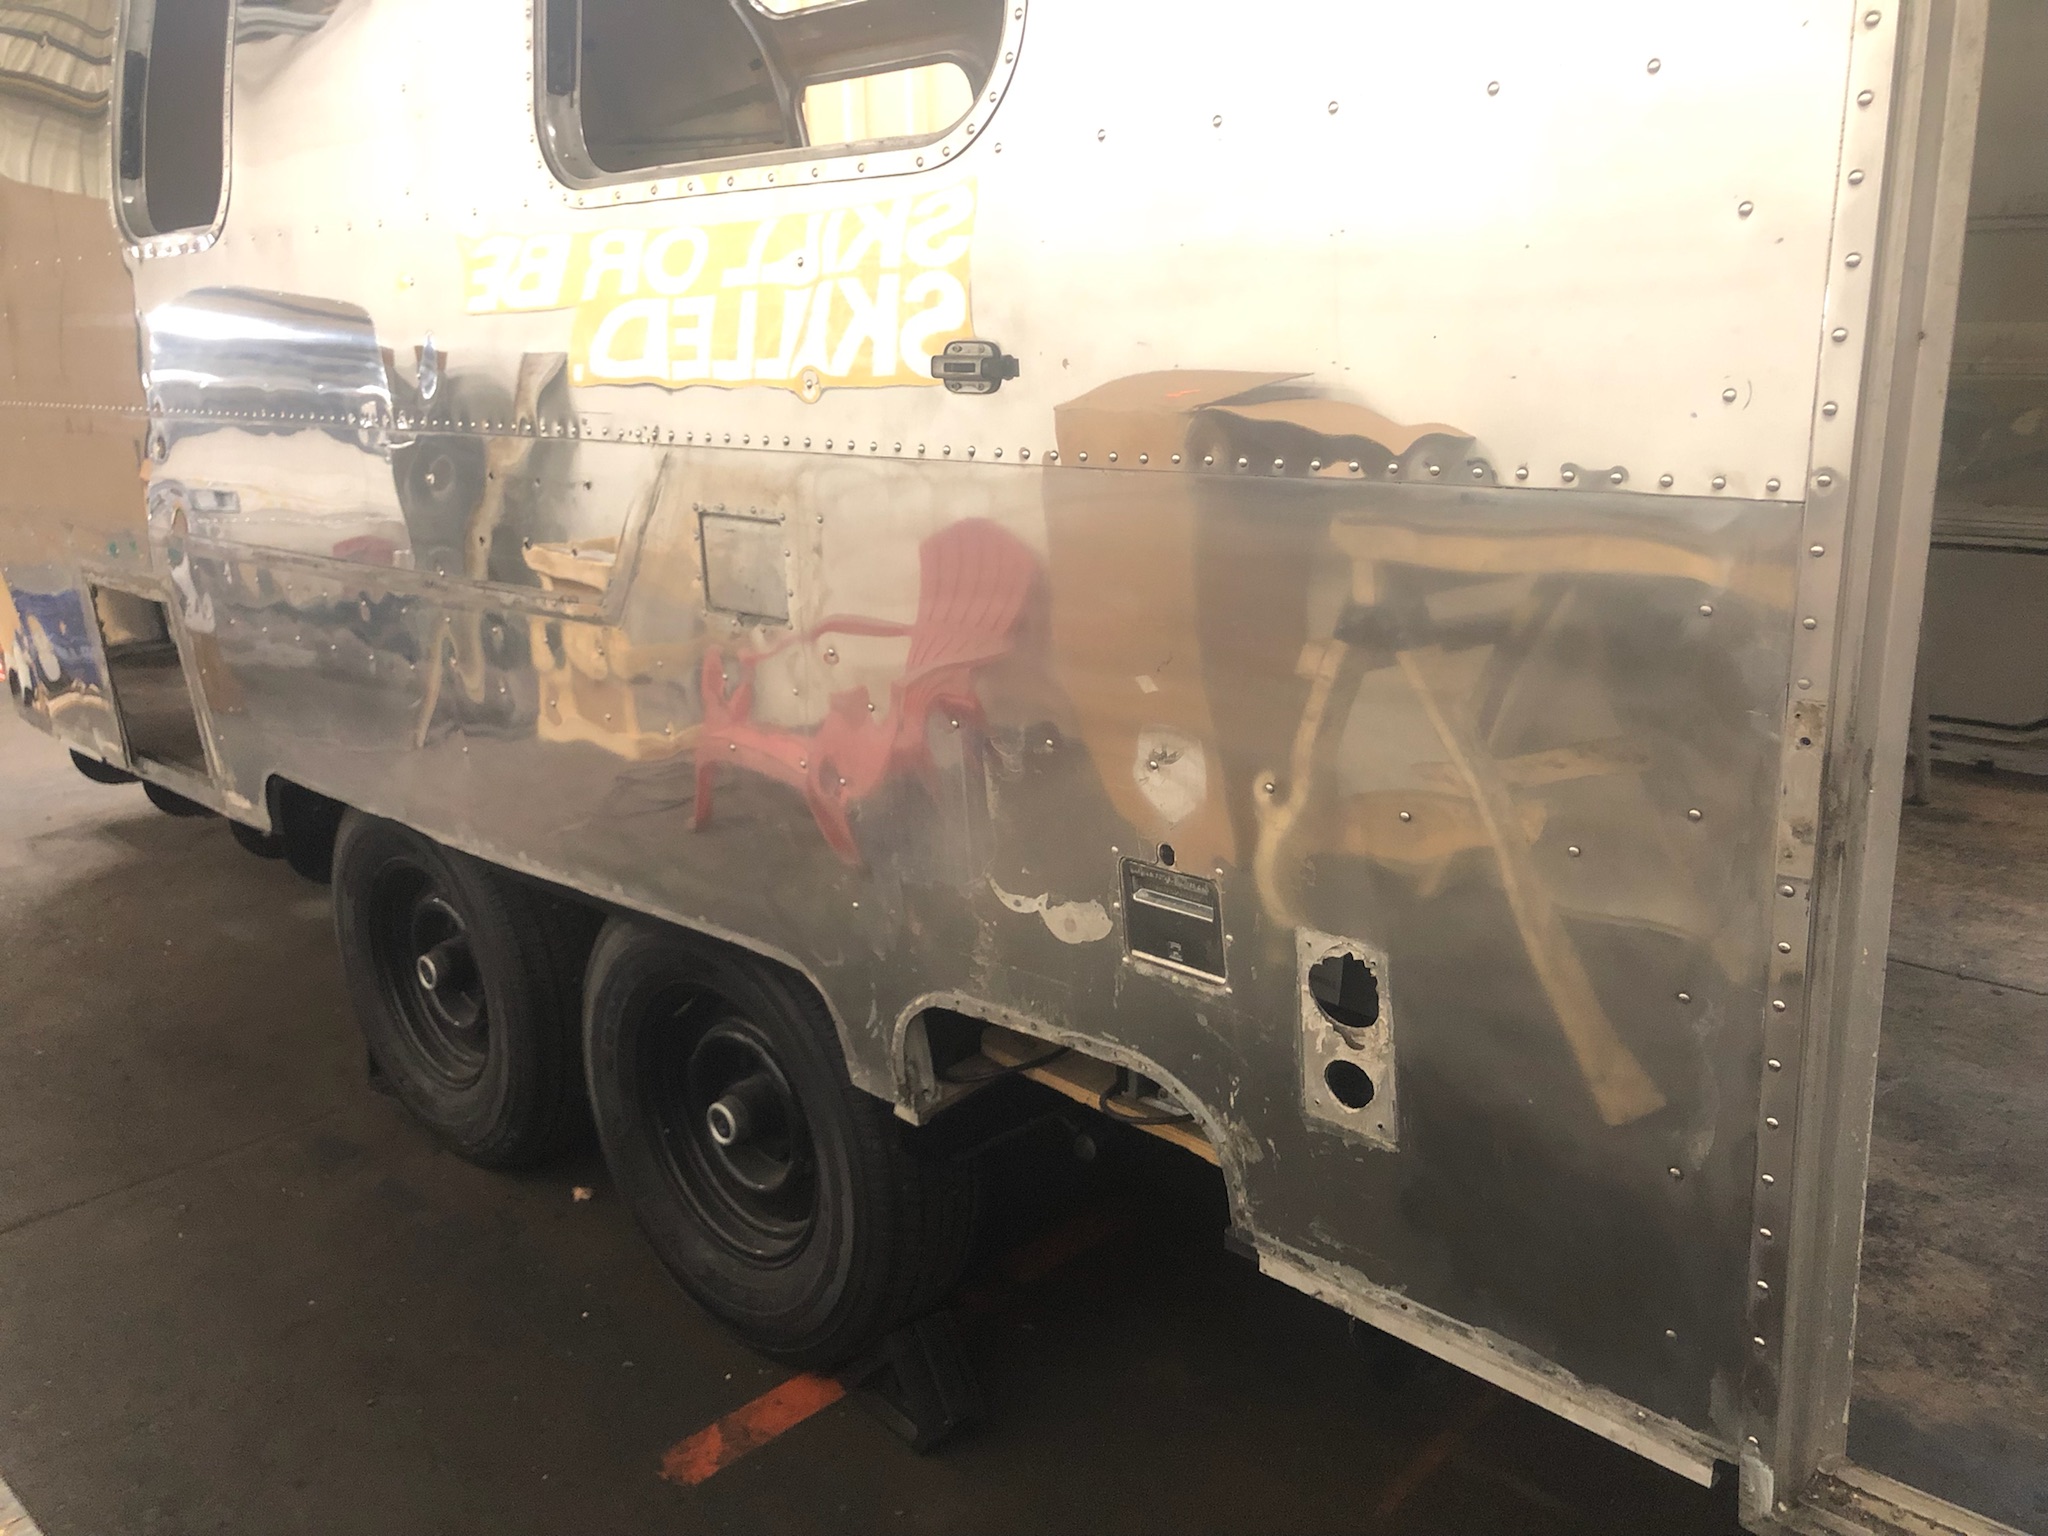
Somewhere along the way, Trillian suffered some pretty extensive damage to her starboard side. When we got her and stripped out the interior skins, it was easy to see that an entire side panel had been added to repair the damage (whatever caused it). It also became obvious that the front corner, between the front window and door, had been replaced because those panels were obviously attached from the outside using Olympic rivets. Benjamin had decided early on that these rivets would all need to be drilled out and replaced with buck rivets. More work, yes, but a much sturdier option over the long-term.
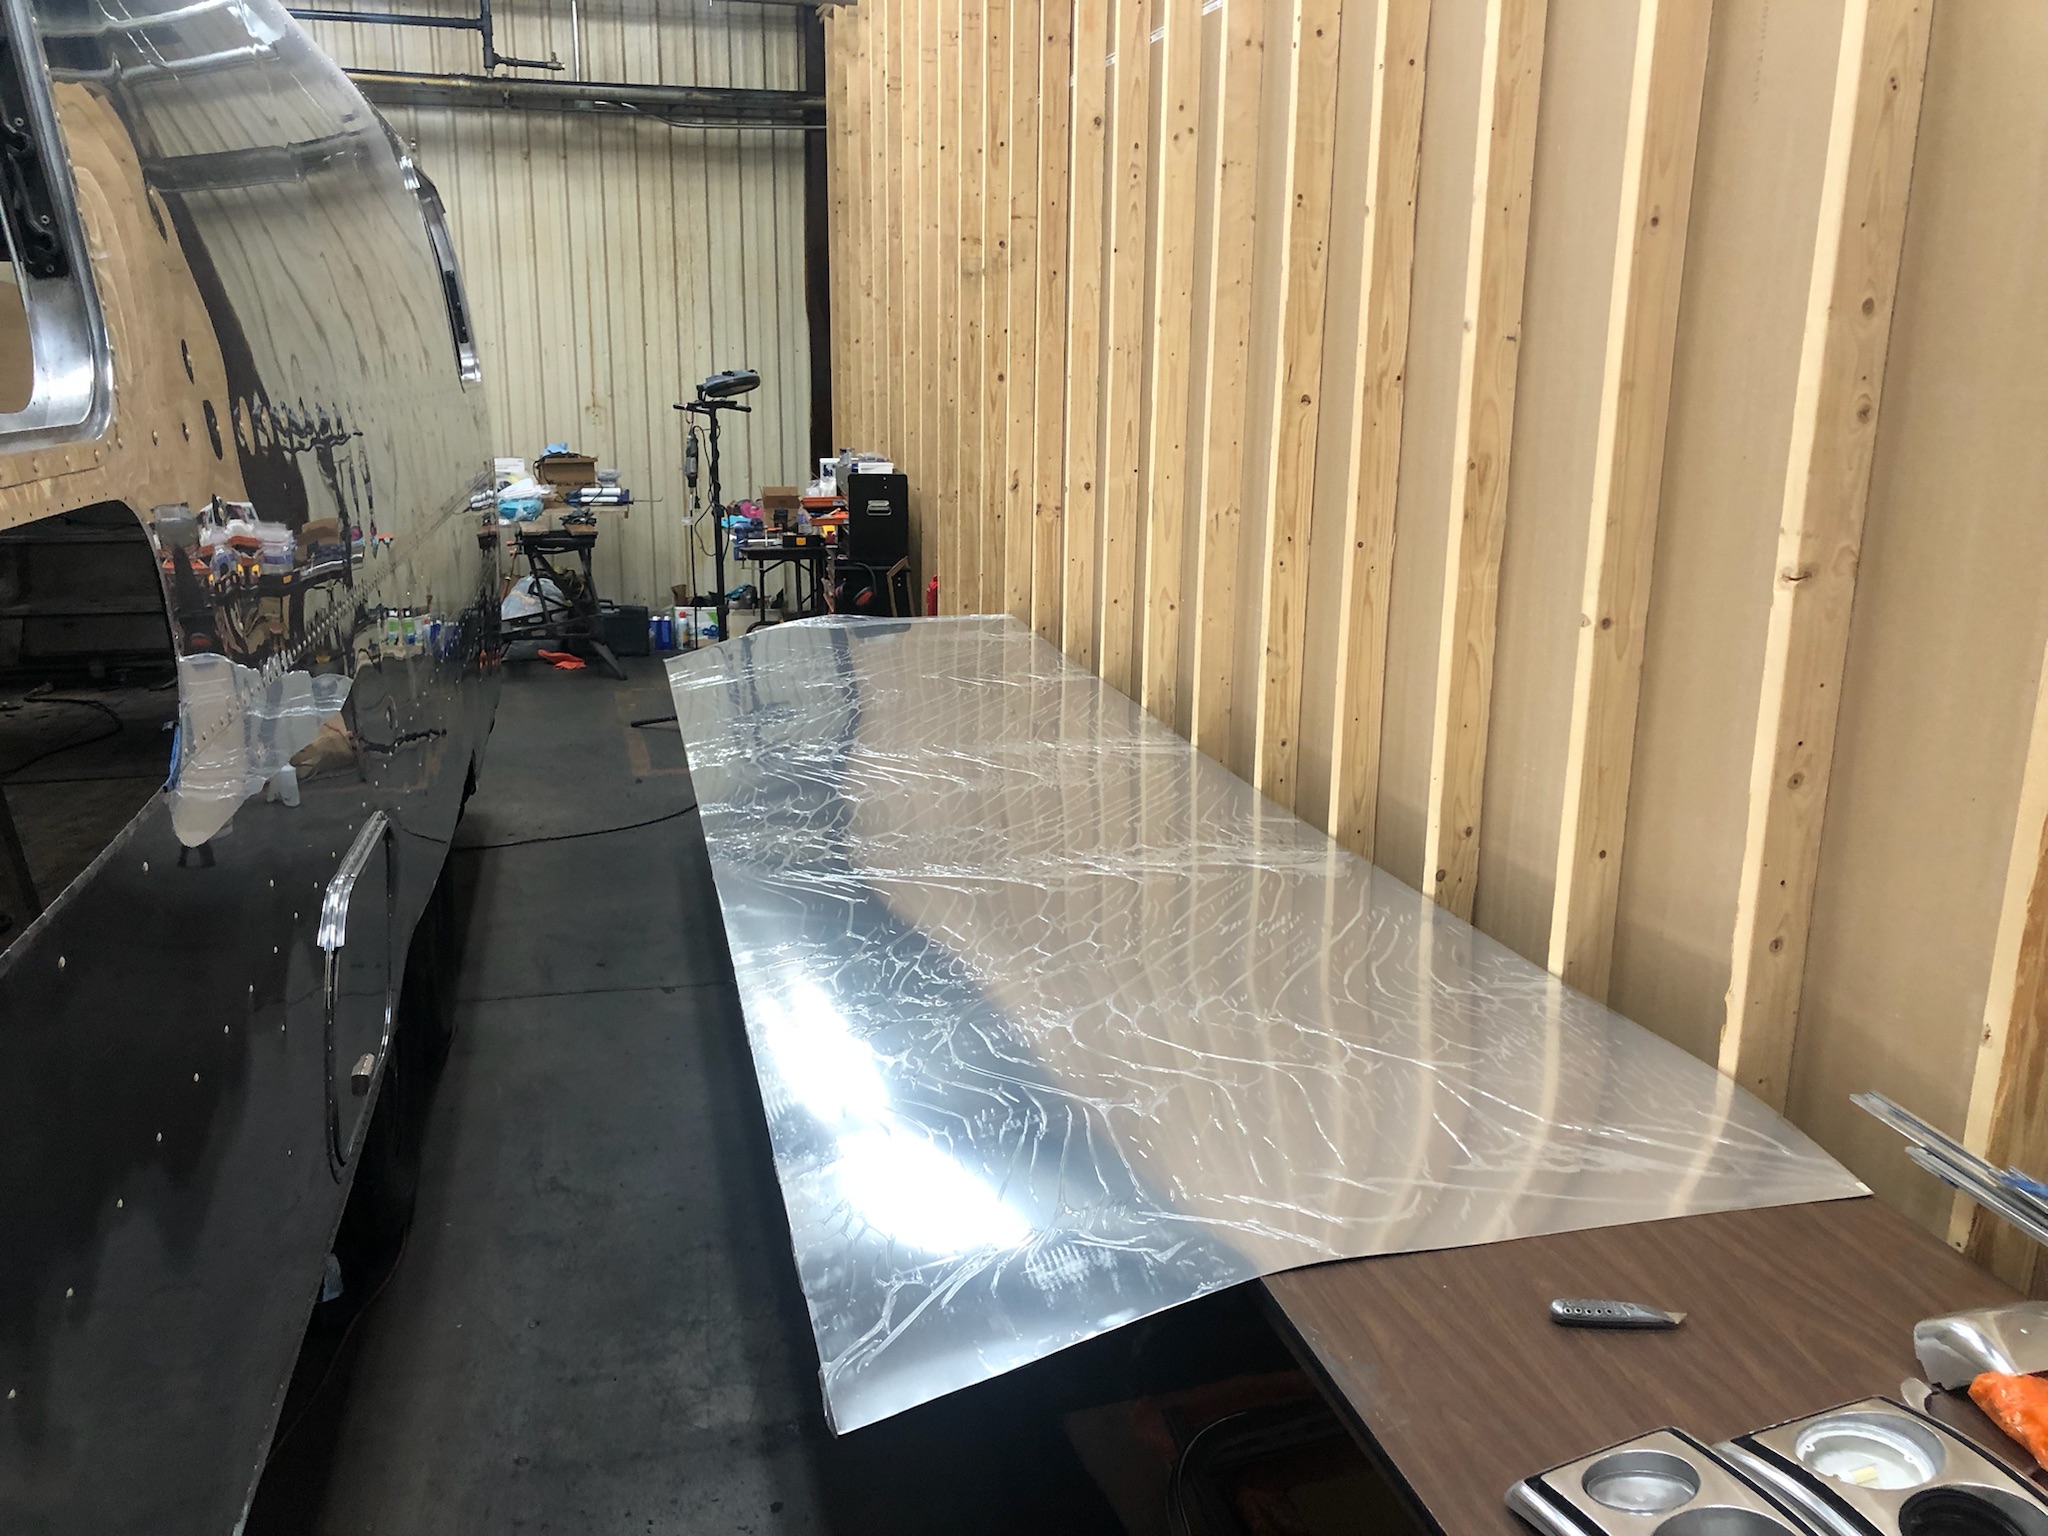
With the sheet aluminum already cut to size months before, we had to get the timing right on the installation of the side panel. With the subfloor now fitted and the wheel well reinforcements and trim in place, we could confidently proceed on the side panel.

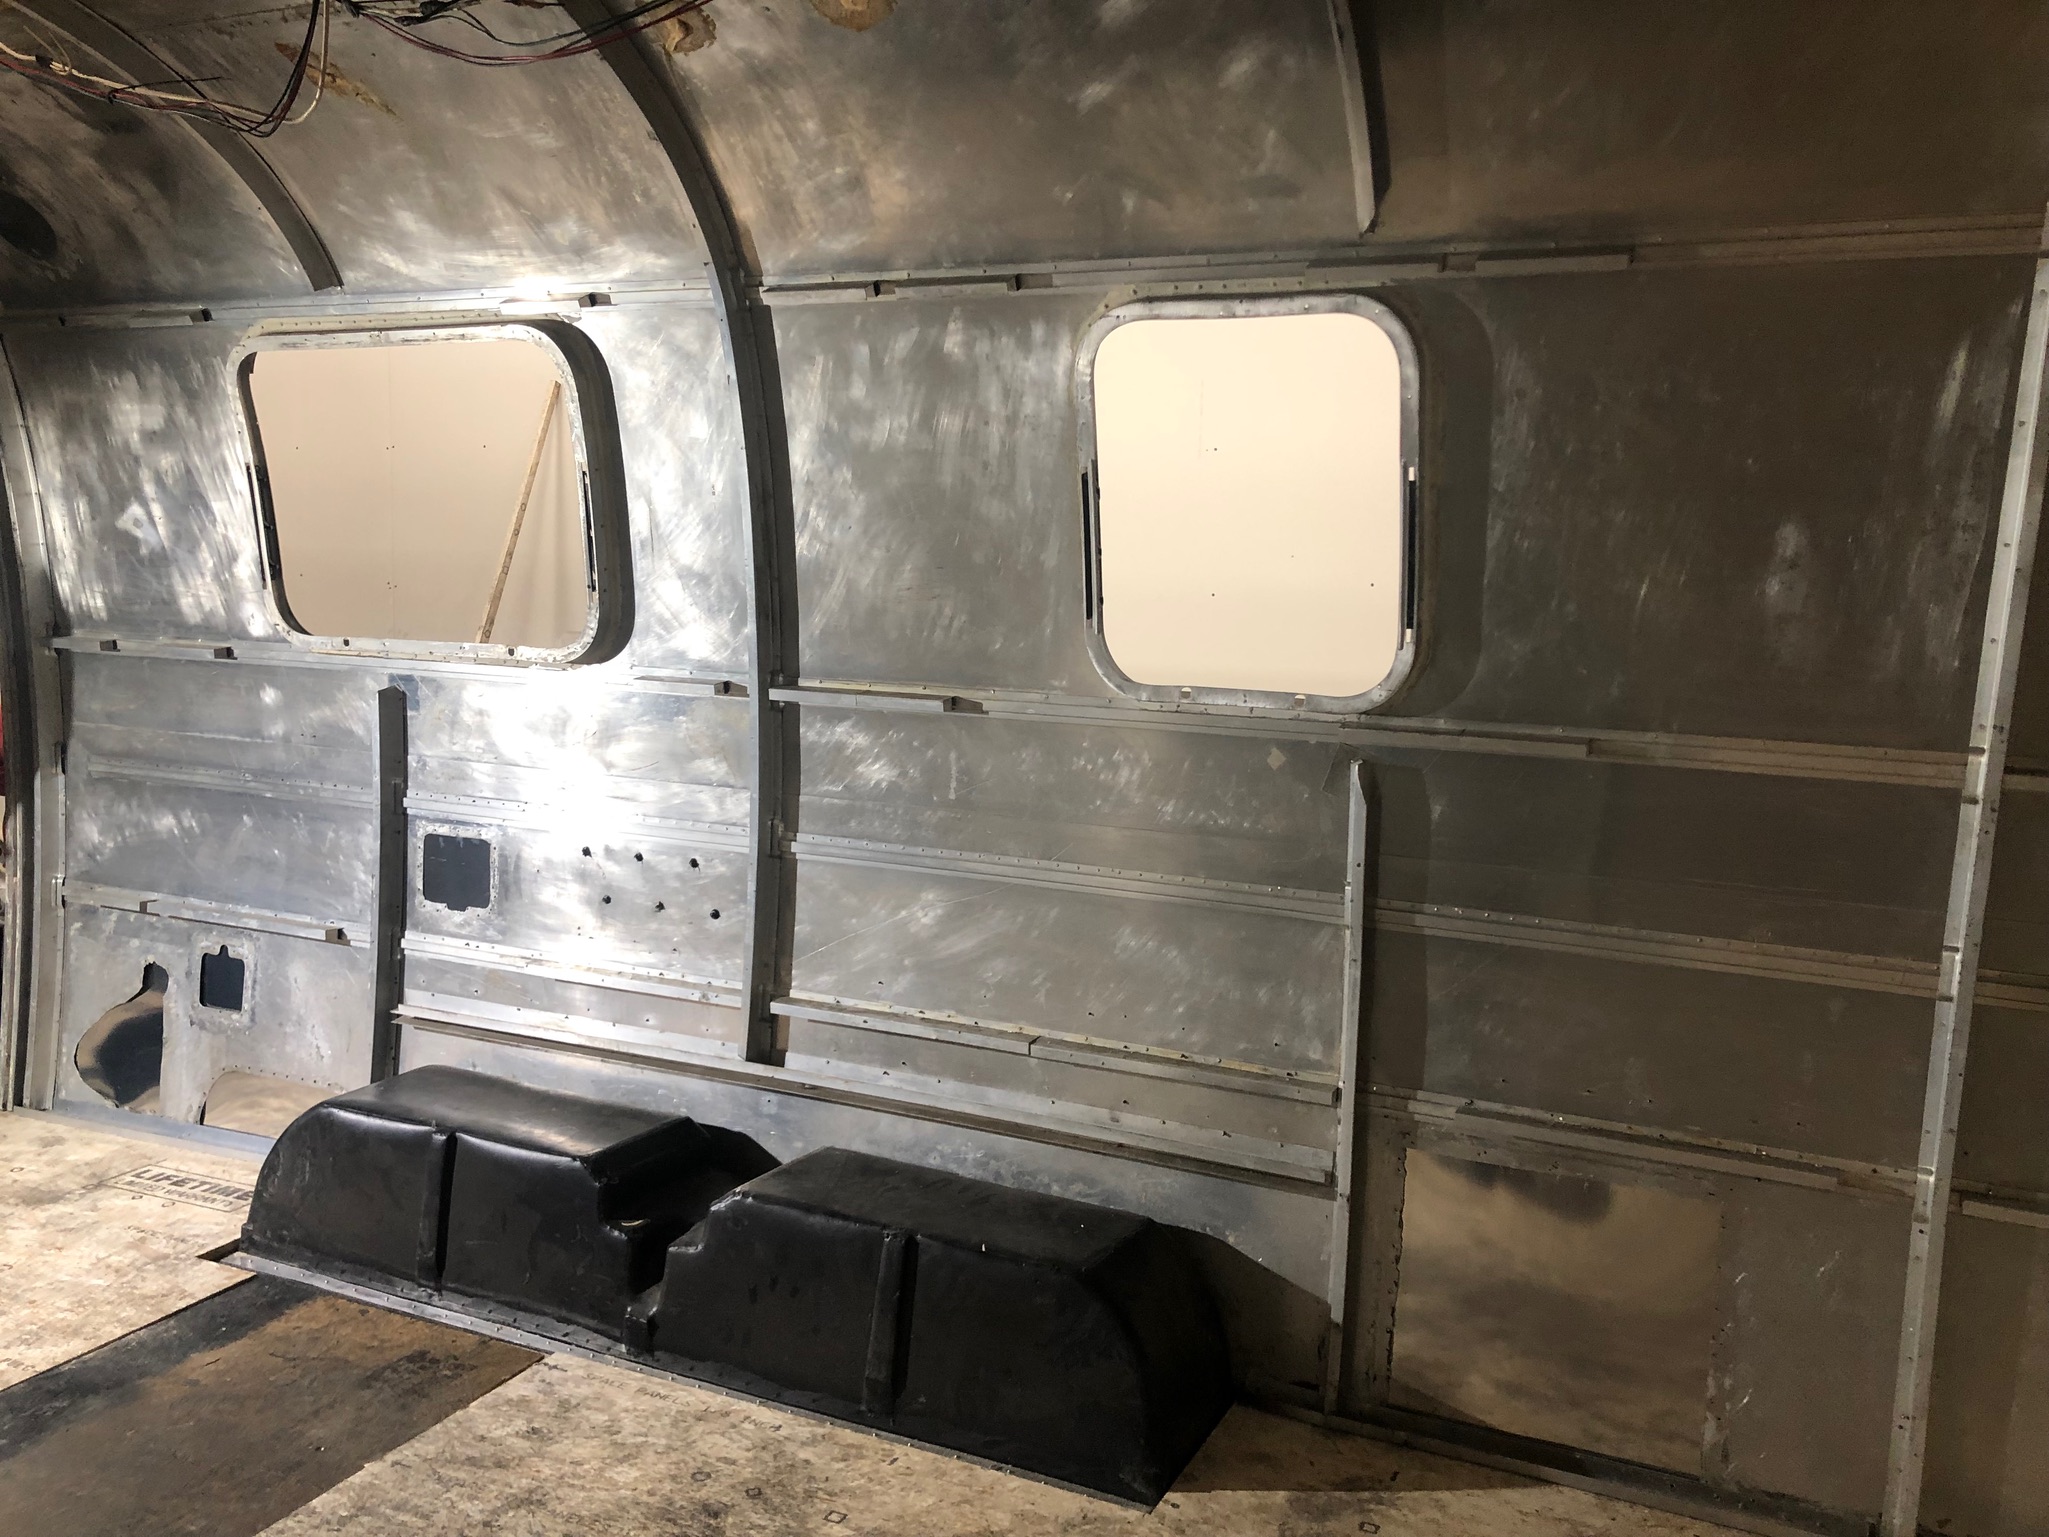
Sealing up the side panel also made the interior view a lot cleaner.
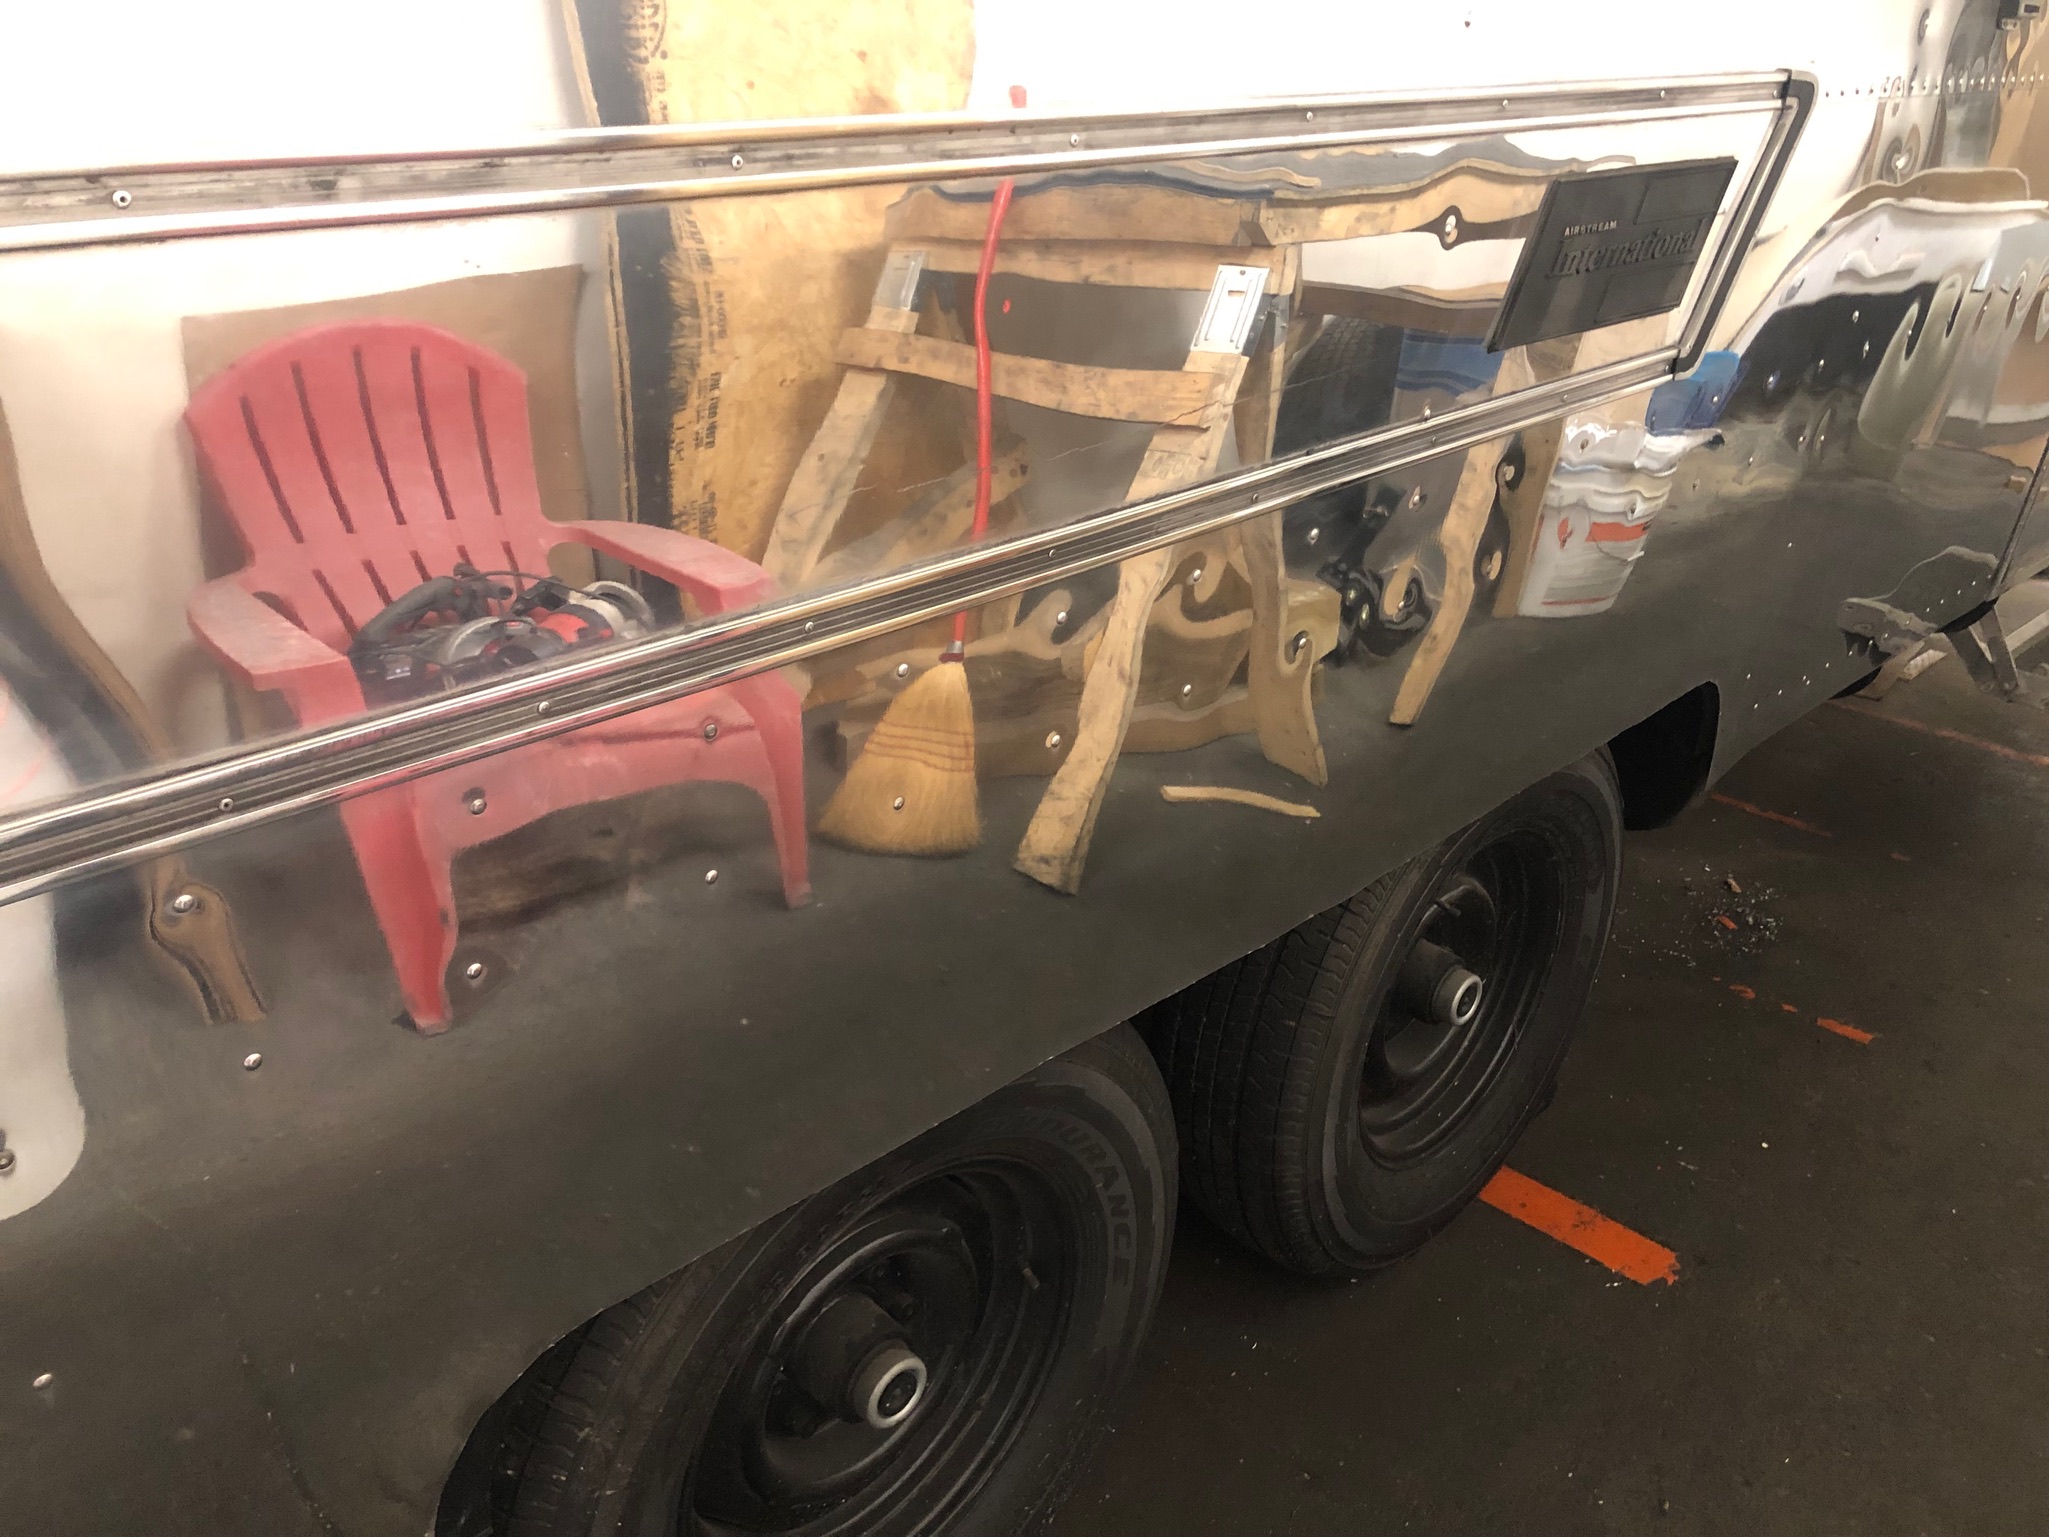
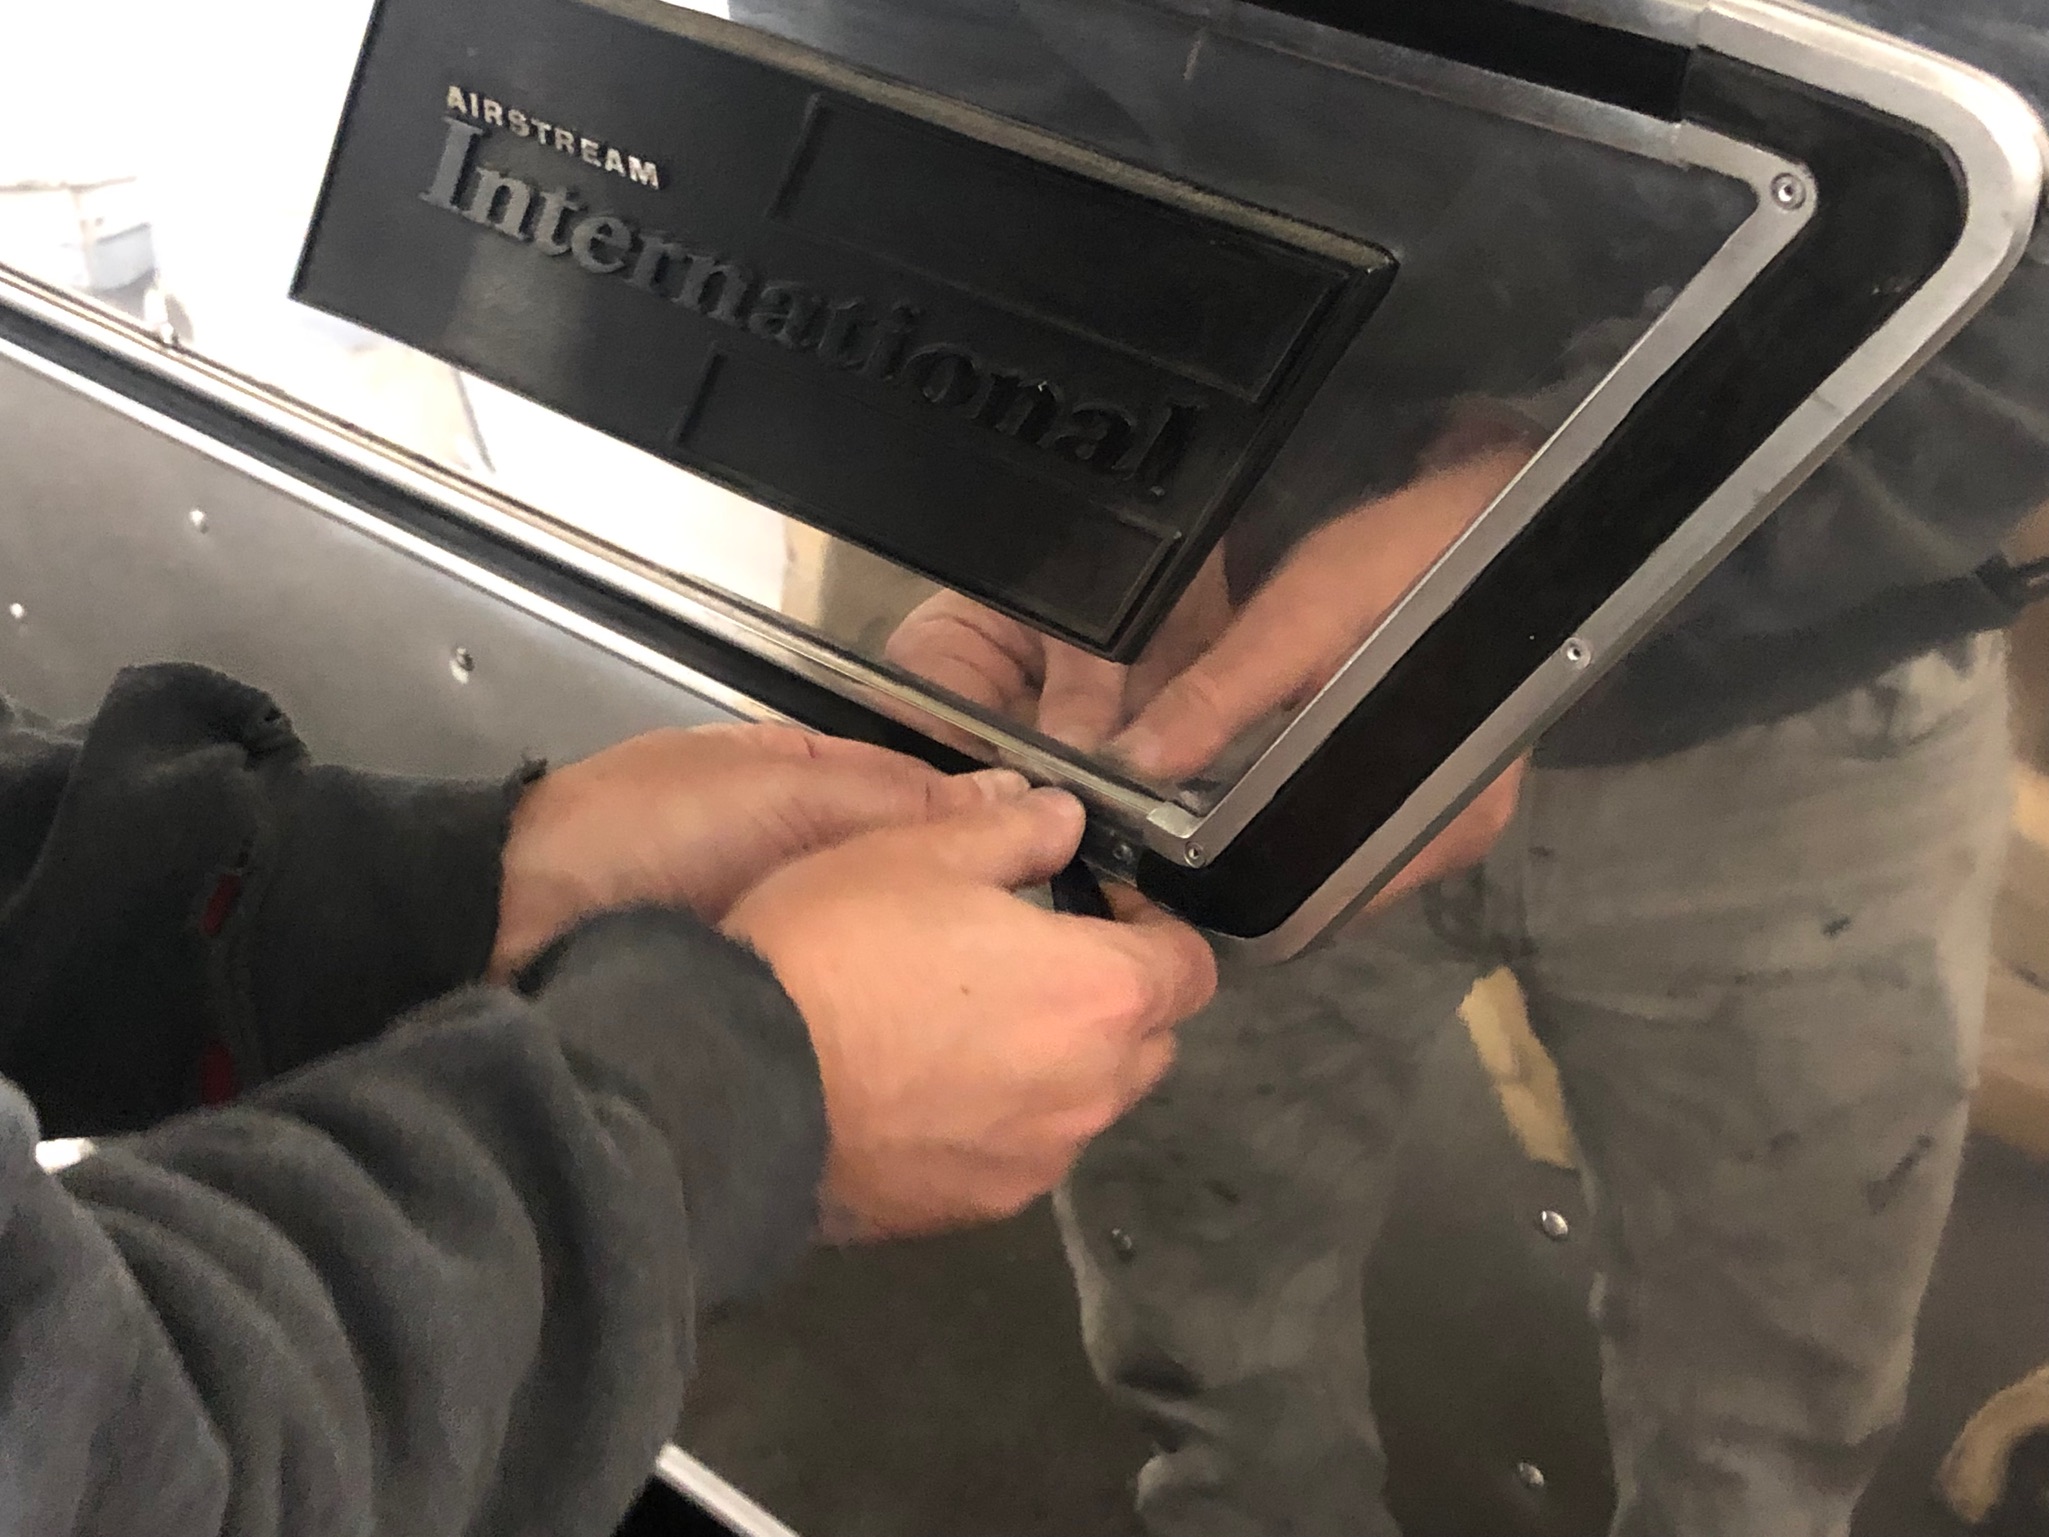
We were very excited to finally add the trim pieces to the shiny, new panel.
Installing the last bit of the middle trim was very satisfying!